Have you ever noticed that your sofa and chair are dirty? If yes, when you cleaned it last time, because most of the dust is present on them. We use upholstery; it is all around us, but sometimes we do not pay much attention to cleaning it as we clean the floors and windows. That is where the cleaning of upholstery comes in. Besides making your furniture appear new, cleaning upholstery helps to have a healthier house interior. And now that you have been avoiding the job, designating it too complicated, you need to know that cleaning upholstery at home is easier than you imagine. By taking the correct actions, using the correct equipment, and being patient, you are able to restore your furniture to its optimum state.
The Importance of Upholstery Cleaning.
You must be informed of why we have to clean the upholstery on your list of things before you are swept up in the process. You can find dust well penetrating your upholstery, and mixed with allergens, pet hair, and even food crumbs and spills, your furniture can be very dull, even to the point that it can affect the air quality of your house. Toowoomba bond cleaners help in upholstery cleaning in the majority of cases when you plan to prolong the life of your furniture, as well as make these pieces of furniture look beautiful, eliminate any allergens, and avoid hard stains that may become the reason for furniture degradation.
Step 1: Select the Type of Fabric.
The initial process of cleaning upholstery ought to be fabric identification. The majority of the upholstery has cleaning codes W, S, WS, X, and the fabrics could be cleaned by using water, solvent solutions, water or solvents and vacuuming only, respectively. With such code, you would be in a position to use the right cleaning method and not damage your furniture. For instance, water treatment on an S-coded sofa may result in permanent stains; therefore, this is a very vital stage.
Step 2: Vacuum Thoroughly
When you understand your cloth, then start with upholstery cleaning, which means vacuuming the furniture. This measure gets rid of dust, pet hair, crumbs, and dirt on the surface. The brush attachment is used to loosen up debris, and a crevice tool is used to get corners and seams clean. This step is pre-cleaning the cloth to prepare it for washing. Likewise, rugs and faux fur mats should be vacuumed carefully, here’s a step-by-step guide for faux fur carpet cleaning
.
Step 3: Pre-Treat Stains
The stains are normally the hardest to clean upholstery, and the faster the better.. A simple combination of mild dish soap and warm water is usually good in the case of water-safe fabrics. In the case of solvent-only fabrics, I would use dry-cleaning solutions or rubbing alcohol. The golden rule is to blot stains instead of rubbing them because rubbing them may cause the stain to sink deeper into the fibres and then discolour.
Step 4: Select the most appropriate Cleaning Solution.
The fabric material determines which cleaning solution is used while washing upholstery. Fabrics that are made of water materials are cleanable using a mild soap solution, whereas solvent-based fabrics need special upholstery solvents. Applying to fragile garments, which have an X-code, it is better to vacuum or call a specialist. Do not use extreme chemicals such as bleach, which may ruin the textiles and colour.
Step 5: Test Before You Clean
A simple on-the-spot test before implementing any solution on all your furniture is to always do it on a small and unnoticeable piece of fabric. Can You Proceed: In case the patch test does not present discolouration, fading, or changes in the texture, then you are safe to go ahead. It is a simple precaution and would ensure your upholstery cleaning exercise does not leave the cloth, unfortunately, ruined.
Step 6: Clean the Fabric Gently
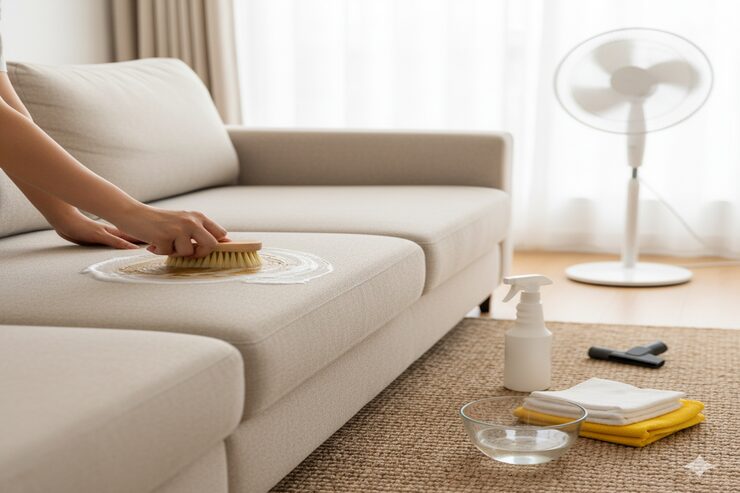
The cleaning upholstery process must never be rough. Wipe the cloth or sponge into your solution and blot the piece of cloth a section at a time. To remove hard dirt, you can apply a soft brush to remove dirt without being too hard. This is because it is essential not to overwet the material since excess moisture may cause cases of mould and mildew. Upholstery cleaning should not hurt but rather repair the fabric.
Step 7: Rinse and Blot Dry
Once the fabric has been washed, wipe it with a clean and wet cloth of plain water. This would assist in removing the residual soap that would otherwise be prone to receiving additional dirt. After rinsing, dry the area using a towel, and when one has the opportunity, keep the furniture close to a fan to dry faster. It is a mandatory addition to upholstery cleaning, as moisture left in the process may lead to the development of unpleasant odours.
Step 8: Fluff and Restore
Your upholstery may be dirty, so you should attempt to make it look like it did originally to reintroduce the feel of the cloth and plump up the cushions. Brush the cloth. This is the final touch that will make your cleaning upholstery job leave the furniture that will not only look clean, but also cosy and welcoming.
Conclusion
It may seem that cleaning upholstery is a huge task, but it can be done with the help of appropriate steps, and it can be achieved. In applying cleaning solutions, following the process through fabric labelling goes a long way toward enhancing the beauty of a piece of furniture and prolonging its life.
Just a small investment of your time and money to clean upholstery will be way better than paying for its replacement. The cleaning not only enhances indoor air quality but also allows your furniture to shine like they are new. It is absolutely not a good idea to cover up the dirt with a throw; get your cleaning agents and bring back the original look of your upholstery.

